Thanks to recent advances in technology, installing solar on your home is now easier and more cost-effective than ever. It won’t happen overnight though. The process will take at least a few months, but the results will prove well worth it.
Take the time remind yourself that installing solar panels is a major electrical project. If you’re not sure you can install a system safely and correctly, you should work with a professional.
If you’re not dissuaded yet, read on for the full guide to installing your own solar panels. Even if you do plan to work with a pro on some or all the parts of the process, the following guide will tell you what you need to get your installation approved, planned and connected.
Plan Your System
When preparing to install a solar system for your home, you should have an engineer, electrician or both take a look at your home so you know what you’re in for. They’ll evaluate the physical structure and electrical systems of your home and let you know if you’ll need to upgrade them.
If everything’s up to par, it’s time to determine what size system you want, which depends on how much energy you want to produce. To figure this out, look at your energy bill to see how much you typically use. Then, determine how much sun your area typically gets.
You’ll also need to have a rough idea of how much sun the area in which you plan to install your panels gets. You’ll need to choose a location where trees, buildings or other structures don’t block the sun. This could be on your roof, in a yard or elsewhere.
If you want to go completely solar, you’ll need enough panels to generate your daily energy use with the amount of sun you get. You might also decide to only get part of your power from solar.
The efficiency of the panels plays into this as well. This will be a factor in choosing a panel type, as will durability, cost and aesthetics.
You’ll also need to choose an inverter type. String inverters are the most common. In this type of system, the panels are all strung together. This works for most installation but isn’t advisable if some panels could get significantly less sun than others because the system will only generate as much power as the least productive panel.
With a micro-inverter system, each panel has its own miniature inverter, so it’s okay if some get less sun than others. This type is more expensive than string converters, but its costs are declining.
Power optimizer systems are somewhere in between the two other options. Each panel has its own inverter, which sends conditioned DC electricity to a central string inverter. The efficiency and cost for this system are in between that of string inverters and micro-inverters.
Also, decide if you want any additional devices such as a battery to store excess electricity so you can use it when the sun is not shining.
Get the Required Approvals
Once you know the size and type of the system you want to install, you can start applying for permits and fulfilling other logistical requirements.
You’ll need a building permit from your local authorities and should also contact your utility company early in the permitting process to see what their requirements are. Once your system gets approval, be sure to follow the approved plan during installation to avoid any regulatory troubles.
You will likely also want to see what incentives are available for going solar since they can reduce your costs substantially. These incentives could come from the federal government, your state government, your local government and your utility company. Solar non-profits also provide financial assistance to help more people install solar for their homes.
Install Your System
Once you’ve done your planning and filled out your paperwork, it’s time to purchase and install your new solar system.
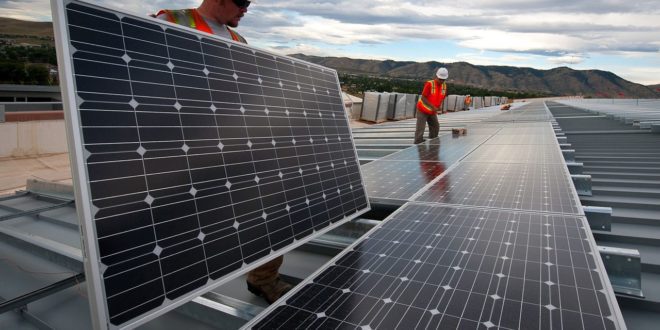
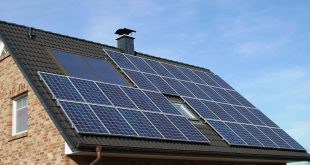
If installing your panel on your roof, start by making sure your shingles are all properly attached and securing them if they’re not. If you’re placing it on the ground, you may want to build a platform to hold the solar array unless you’re using individual panels attached to stand-alone poles. You can construct this platform using 4x4s and concrete pillars.
For a rooftop system, you will then install racking, which attaches to your roof and holds the panels in place. If you’re mounting a system on the ground, install a support rail. This will hold the panels and micro-inverters if you’re using them.
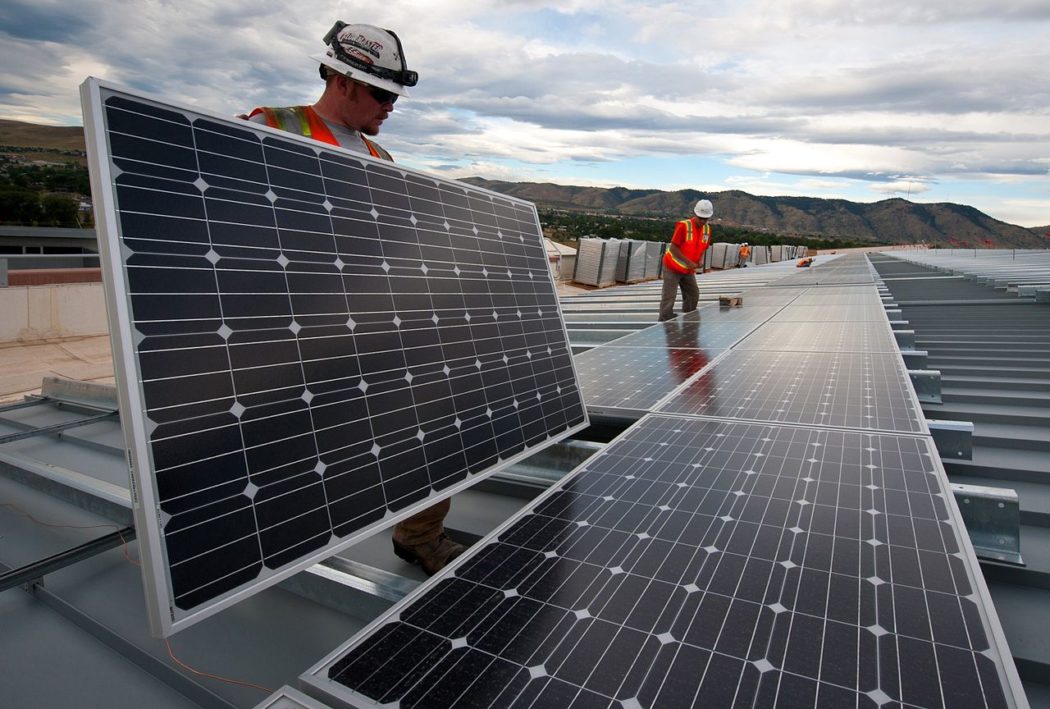
Next, you’ll install the panels and micro-inverters if you’re using them. Be careful not to damage the panels during installation and make sure they’re properly aligned. If using a string inverter, install that now as well as any battery systems you may use. If net metering is used where you live, you may also need to install a new power meter.
Finally, it’s time to install the wiring. This part of the process can be dangerous, so if you don’t have experience with electrical work, you should contact an electrician. Some local laws require an electrician’s license to install solar panel wiring. Connect your wiring to your junction box, disconnect switch and circuit breaker. Make certain everything is grounded properly and safely installed.
Get Connected
Once everything is installed and ready to go, you’ll need to pass a series of final inspections from your local government, an electrical inspector and your utility company. This process can take up to a month.
Once you’ve gotten all your final approvals, you can switch on your system and start generating your own electricity, saving money and reducing your emissions!
While you can’t start generating your own solar energy overnight, solar power is far more accessible than it used to be. You can even install it yourself, as long as you get the required approvals and take the proper safety precautions.
Author Bio:
Emily is a freelance writer who covers topics on renewable energy and green technology. You can read more of her work on her blog, Conservation Folks.
 Alternative Energy HQ solar power for homes, wind energy, and bio fuel issues
